By Pat Muller, Ready 2 Respond Trainer
Quick, effective drying is essential to any successful water damage response, as promptly removing moisture helps prevent structural damage and minimizes facility downtime.
Once safety hazards are eliminated, standing water is extracted, and air scrubbers are running, it’s time to install the next two critical pieces of equipment for the drying process: dehumidifiers and airmovers. Working together, these tools accelerate drying by tackling both moisture in the air and on surfaces.
Step 1: Place Dehumidifiers First
Dehumidifiers are the first to be set up because removing moisture from the air prevents secondary damage caused by damp conditions. Excess moisture in the air can lead to mold growth, corrosion, and other problems that impact building integrity and lead to more extensive – and expensive – repairs. By pulling moisture out of the air, dehumidifiers help reduce these risks, allowing surfaces to dry more quickly.
To determine how many dehumidifiers are needed, calculate the cubic feet of the affected area by multiplying length by width by ceiling height. Next, divide cubic feet by the factor on the chart according to the dehumidifier model. For example, when using the Dri-Eaz 6000Li dehumidifier, divide cubic feet by 10,000 – which is100 times the 6000’s water removal capacity of 100 pints per day.

When placing dehumidifiers, avoid high-traffic areas – and carefully route power cords and drain hoses to reduce trip hazards.
Step 2: Add Airmovers for Drying Materials
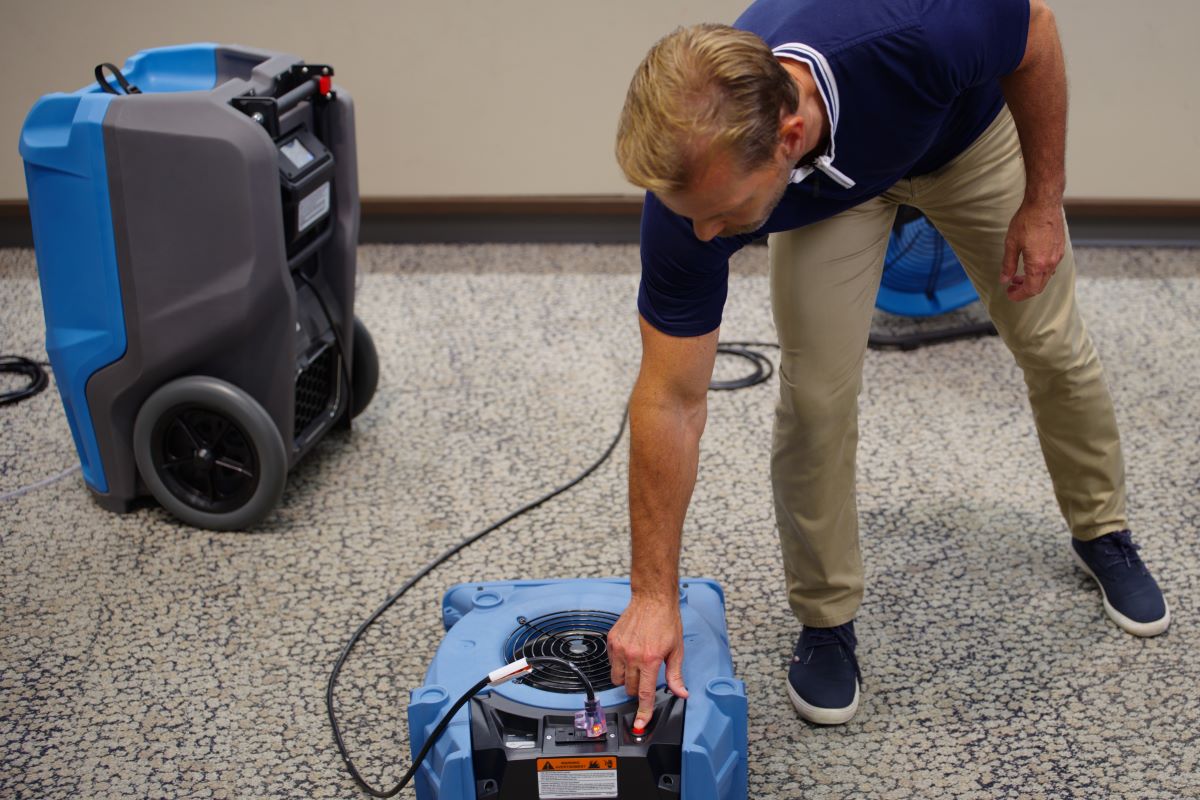
With dehumidifiers in place, airmovers can now be positioned to direct airflow across the wettest areas. This ensures moisture is lifted from surfaces and into the air where the dehumidifiers can remove it.
To determine how many airmovers to use, take the affected area's square footage (multiply length by width) and divide this number by 70. In other words, install one airmover per 70 square feet of space.
For the most efficient setup, place all airmovers around the area before plugging them in. Arrange them to blow in a circular path around the room – either clockwise or counterclockwise – to create consistent airflow. Keep cords wrapped around the airmovers and daisy-chain units together to reduce trip hazards and create a neat, organized workspace.
Step 3: Check the Complete Setup
Finally, verify that there’s an air scrubber in place for each dehumidifier. Air scrubbers, dehumidifiers, and airmovers each serve a specific role but work together to create the ideal drying environment. Placement for air scrubbers and dehumidifiers doesn’t need to be precise – place them within the affected area where they’re out of the way yet still treating the moist and particulate-laden air generated by airmovers.
Conclusion
By understanding how dehumidifiers and airmovers complement each other, facilities teams can ensure faster, safer drying. Dehumidifiers handle airborne moisture, while airmovers focus on surface drying – making them a powerful duo for minimizing water damage risks. Together with air scrubbers, which improve air quality during the process, these tools create an ideal drying environment.
To explore options for hands-on and virtual team training programs on effectively handling water damage emergencies, contact the R2R team. Also, for more drying tips, follow us on LinkedIn or subscribe to our Facility Insights newsletter.


Quick Guide to Safe Equipment Use
Adapting to Changing Conditions During the Drying Process